Glowforge Review TL;DR: Glowforge is still the friendliest laser cutter to use on the market, and it remains great value despite many new laser engravers entering the space over the last couple of years. Even in 2023, still highly recommended for anyone getting into laser cutting for the first time.
Table of Contents
- Glowforge Buying and Order Process
- Unboxing the Glowforge
- Setting Up the Glowforge
- Official Glowforge Compact Filter
- First Cuts on the Glowforge Laser Cutter
- Optional Premium Software Subscription
- Easy to Set Laser Focus
- Experience in Action
- The Glowforge Community
- Glowforge Technical Specs and Price Range
- Glowforge Review Conclusion
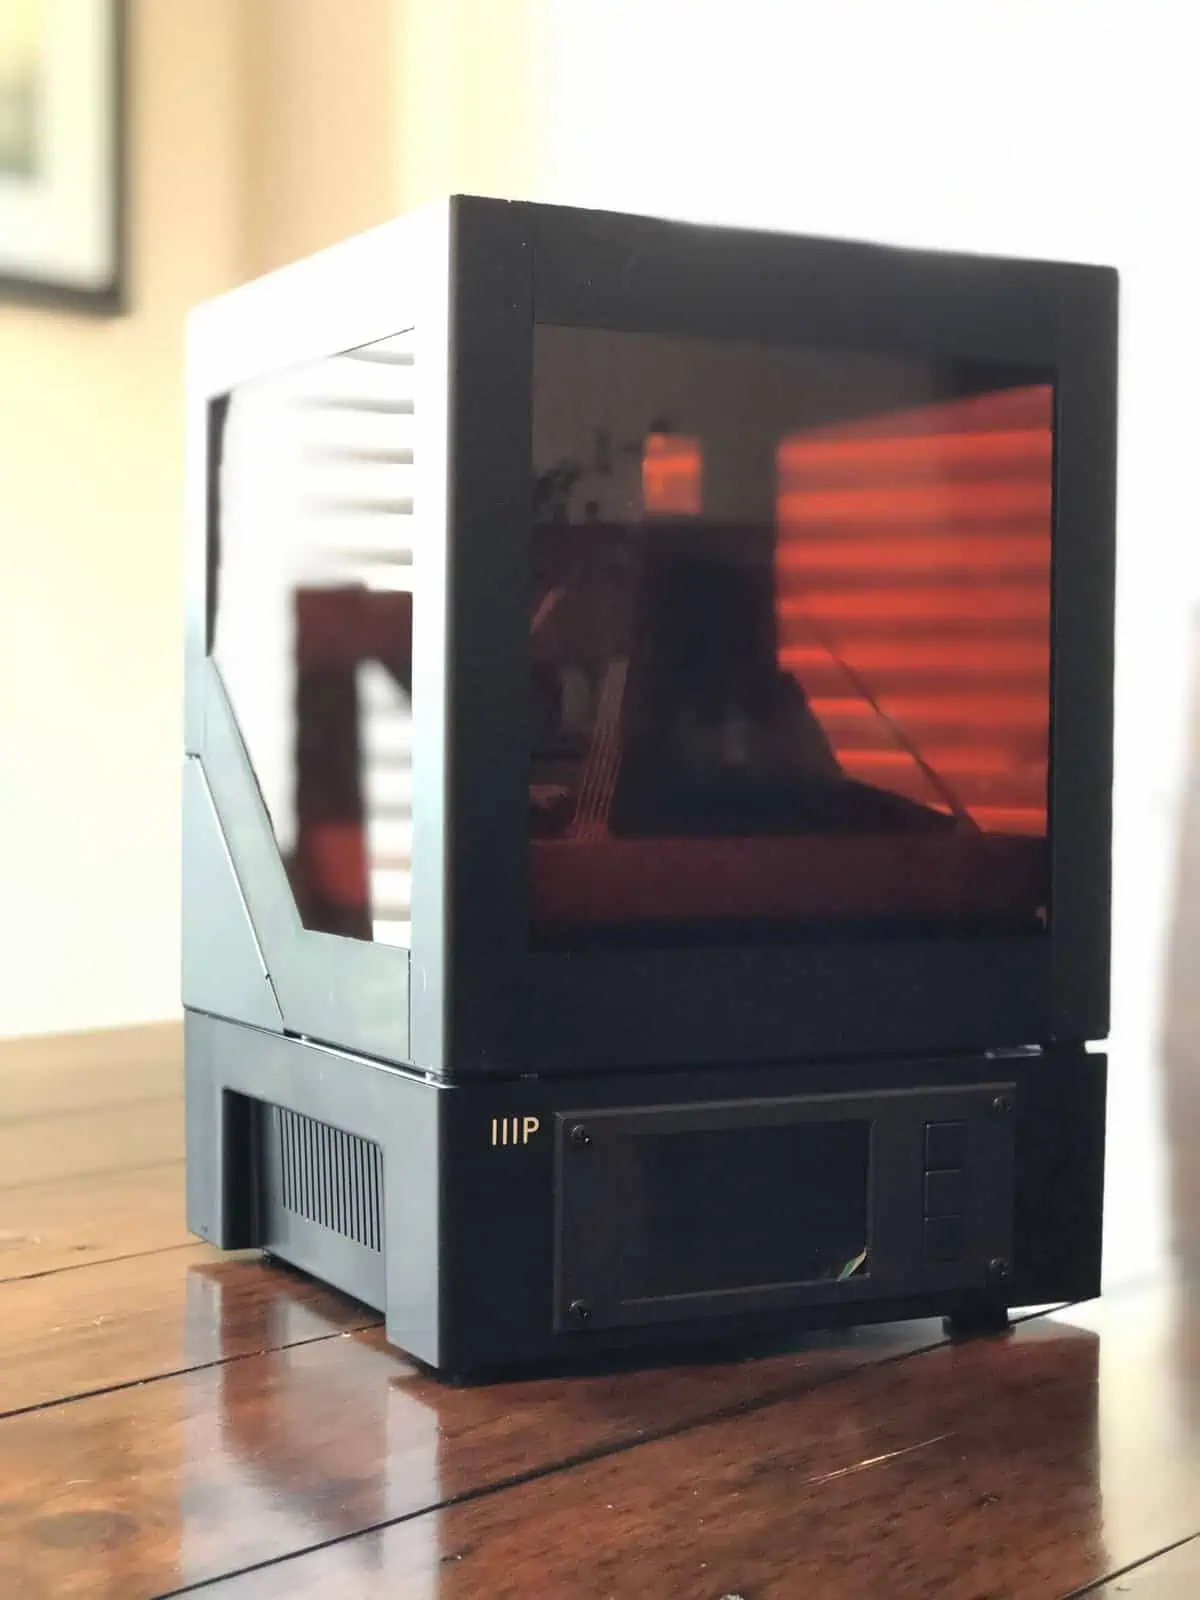
This review mainly covers the Glowforge Basic, but everything equally applies to the Plus and Pro models of the laser engraver/cutter.
Despite what the ads say, this is a Co2 laser engraver, not a 3D laser printer.
That said, we love the machine so much that we bought two.
This is a big deal, as an owner and user of several high-quality laser cutters as you can see around this very website, I don’t say this lightly.
Glowforge Review Summary: Even with our most recent, up-to-the-minute lasers, such as the xTool P2, the S1, or the Gweike Cloud, I still say the Glowforge wins on out of the box friendliness, ease of use, and idiot-proof autofocus. Even if it is not the most powerful or best for speed.
Glowforge Buying and Order Process
I had hovered over the pre-order button for a long time before pulling the trigger on the Glowforge Basic.
While I might have saved some money by taking part in the pre-order/crowd-fund, I worried that it seemed too good to be true.
After my hobbyist K40 laser experience and putting in time on two professional laser engravers, I felt I could overcome any issues that arose.
It arrived very quickly. To say I was surprised when UPS told me I had a package coming would be an understatement, but then, true enough, I got a dispatch email from the company too!
Fortunately, by using a friend’s referral code I had managed to get $100 USD knocked off the price of the unit, so while as usual being in Canada worked against me for shipping, it wasn’t quite as bad.
Since I originally purchased it, you can also see units sold on Amazon. You do not get to use a discount code with those, which does make it a more expensive option even with shipping, usually.
Get up to $500 off the price of your new laser by using my referral link.
Unboxing the Glowforge

In box one is the Glowforge itself. This is large and heavy enough that a wise person would get help moving it around. The UPS delivery driver left it on it’s side outside my front door, pressed the doorbell, and dashed. That is one strong lady, my hat is doffed to her.
The second, smaller box, contains the crumb tray, hose, and your proof grade material selection. My guess from the low price of the machine is that these proof-grade materials are their actual business model, rather than just selling machines. Recurring revenue in a “give the handle away and sell the blades” kind of way. I’d say given the aggressive price of the basic model, on the lower end that is especially true.
In my box, I got a nice variety, nothing too outlandish or exotic (veneer, acrylic, draft board), but I did get a couple of pieces of leather, which will be interesting to try, as one of my planned experiments is to engrave on my leather phone case.

Setting Up the Glowforge
The Glowforge is well packaged, with lots of foam protection and a big, sturdy box. Good job because my big sturdy box had been bashed and dinged on its journey from the warehouse to me.
Fortunately for me, everything turned out to be fine in operation with no damage.
The hardest part of the procedure was lifting the machine out of its box and onto the desk I had cleared in my garage/workshop/junk zone. In my middle age, I am not as strong as I once was, especially in the lower back area.
Get help with the lifting, believe me.

There are a bunch of taped pieces and a couple of red strips to remove. There are also a couple of thumb screws to take out. It’s all in a helpful step-by-step tutorial that I only found online after I had started the setup. The sheet of paper in the box takes you to a page that seems to jump to setting up wifi, at least for me. Perhaps because I had already logged in to the site before my laser arrived? Not sure.
As mentioned, my machine was in my garage for the longest time. My wifi JUST reaches out there, which might be why I had to restart my calibration process over using the tried and tested IT Crowd solution (“turn it off and back again”). Smooth sailing after that but I have to admit I held my breath.

The wifi setup is the usual routine – “connect to your machine’s wifi hotspot, configure it to use your network details, go back to your regular wifi” deal. It only picked up my regular wifi and not my 5ghz, but you could even get away with using your phone as a hotspot too in a pinch.
This process is important because the “App” software is web-based, you need to be online in order to use the machine at all.
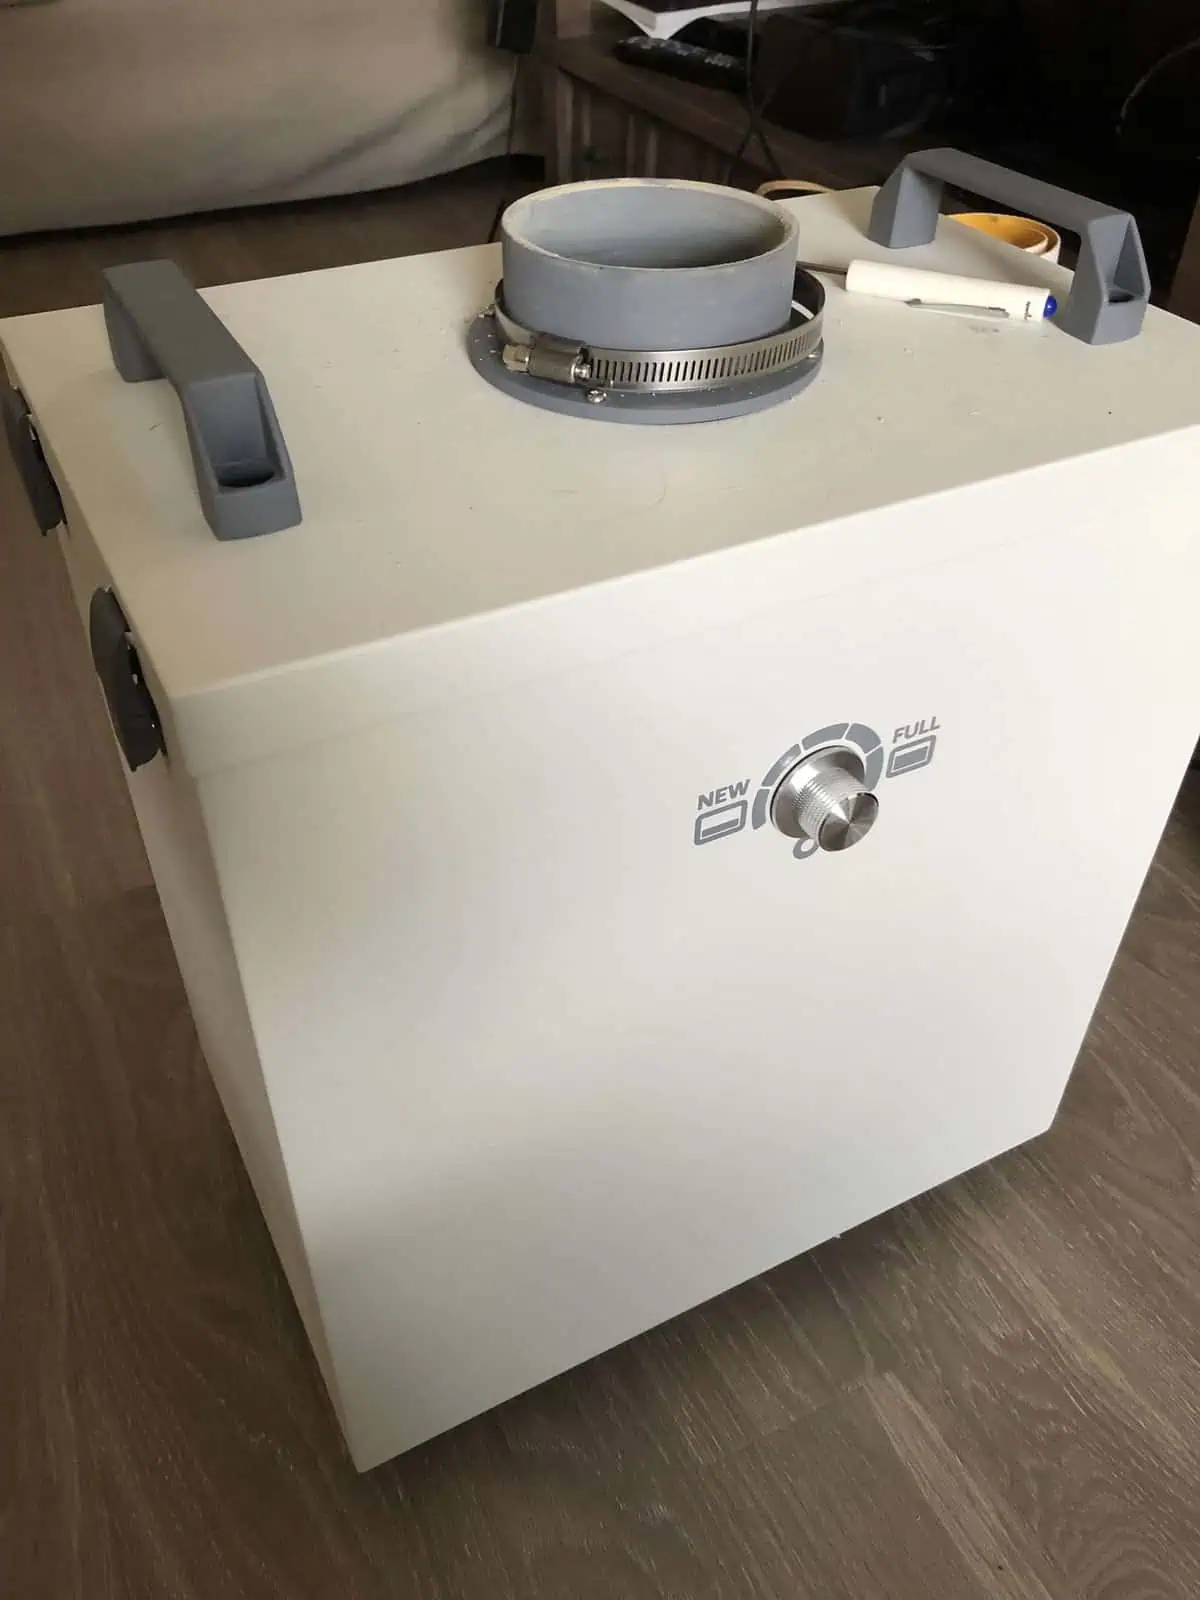
Official Glowforge Compact Filter

Something not available when this review first went live is the official Glowforge air filter.
There have been a couple of versions, one that sits beside the machine and another that is stacked beneath it. I got the side-by-side option so I could disconnect and re-attach, but we ended up venting outside instead.
As well as cleaning the air, as you would expect, it might also help with noise versus the included vent fan on the machine. We ended up buying a powerful in-line fan for when venting out and disabling the included fan fitted in the machine, but one of our lasers is still attached to a filter so it can be used at times where otherwise it might upset neighbors.
I have written a full review about the Glowforge Compact Filter, but it is important to note here that it is an excellent, if expensive, option for anyone who can’t vent outside or doesn’t want to.
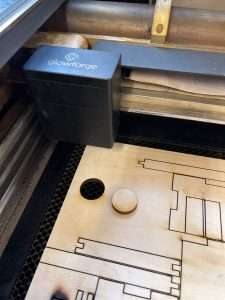
First Cuts on the Glowforge Laser Cutter
So what is it like?
Fun.
It’s a lot of fun.
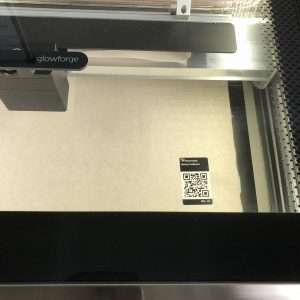
That proof-grade material has a little QR code sticker attached, so material setup is done for you, though, of
I picked out a sheet of the draft board, seeing as I was going to be testing. Draft seemed appropriate. It’s actually nice stuff, I will get more of it.
There are a bunch of free and “to pay for” printable designs available, you can upload your own, and more intriguingly, use the built-in webcam camera to capture a scan of a design from whatever you can fit on the bed.
My first test cut from the tutorials was a pre-supplied ruler keychain.


- Choose or upload your design (SVG vector files for cuts, but bitmap engraves can be PNG, JPG).
- Drag the design to where you want it on your material (using the photo representation of your actual bed, captured with the on-board camera),
- Hit the print button on the screen
- Press the glowing button on the machine.
-
Watch the magic happen.

Easy! Shockingly so. It just works, unlike some very expensive laser engravers I could mention.
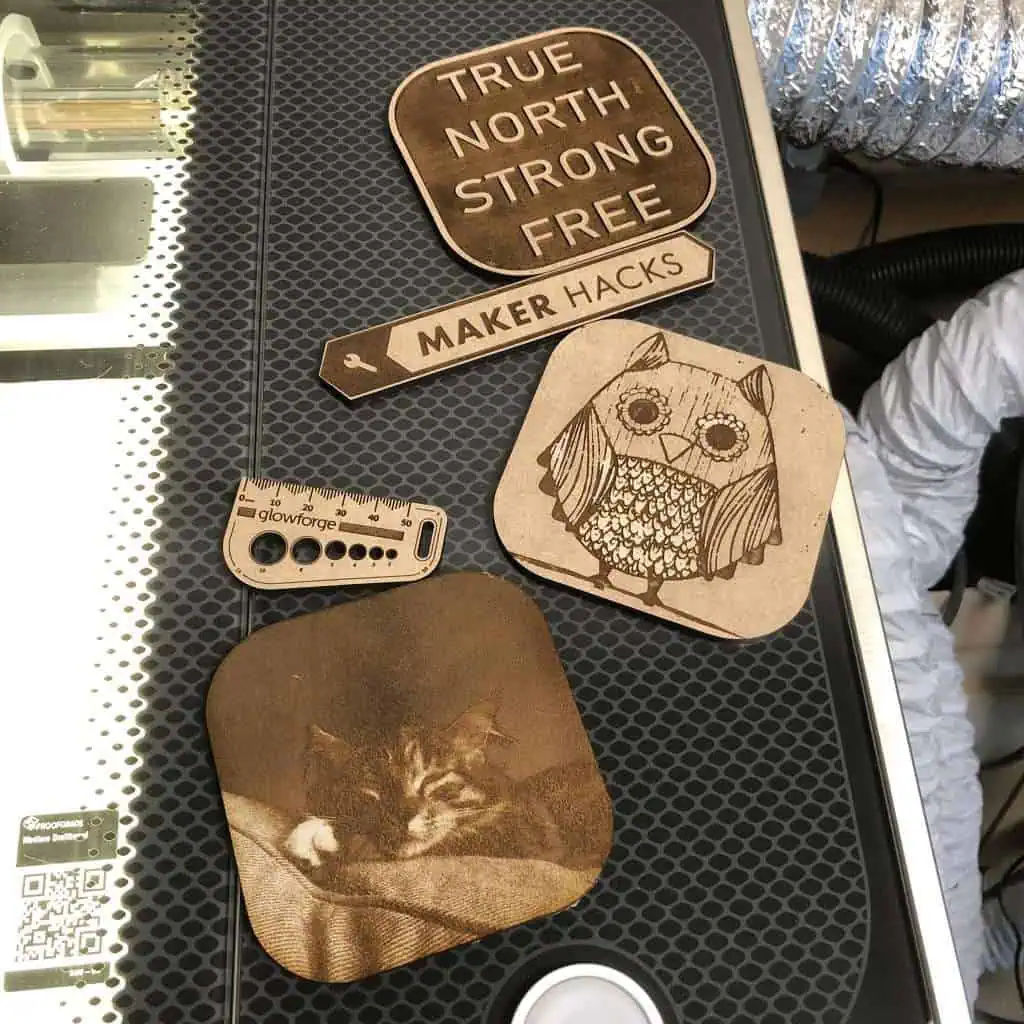
Next, I uploaded my Maker Hacks logo. It picked out automagically which pieces were cuts and engraves, interpreting from the colors and shapes.
Again, hit print, press the magic button.
Then I placed one of our coffee mats on the bed, scanned, dragged a SVG of a simple box, set that to cut, the rest to engrave. Easy, and effective.
To test a photograph I uploaded a picture of our kitten. No tweaks, just defaults, came out well.
Finally, I did a quick SVG in Inkscape of some words with a border, making everything but the letters an engrave. Give it a raised lettering effect. Worked like magic.
Optional Premium Software Subscription
Glowforge continues to improve the software and firmware, but in 2020 a new, premium option was announced.
The premium software is optional, and not at all necessary for most folks due to the fact we work in Adobe or Inkscape for everything but the actual cuts/engraves, but for people who use the laser cutter for business it is definitely worth considering …

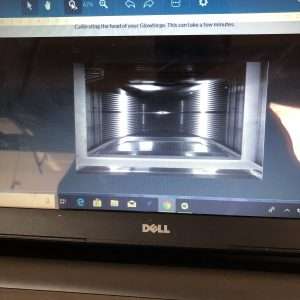
Easy to Set Laser Focus
After my initial review, the Glowforge UI got a great new addition that makes the laser engraver much easier to use with non-official materials.
One-click autofocus!

This is very useful and it is still a feature that sets the Glowforge apart from other lasers in the category. Even the recently released Gweike and OMTech Polar do not have this feature. You have to measure your material and hope that it is flat.
No need for calipers for most third-party materials now, just set the focus on the part of the material where you will be cutting and let the machine work it out!
If your material is at all warped, if there are lots of gaps where full bed automatic measurement might get confused, or if you are using hold-downs such as magnets that artificially raise the depth, then being able to measure at a specific spot on your design is amazingly valuable.
Get up to $500 off the price of your new laser by using my referral link.
Experience in Action
Back when I originally posted this review, I was a bit nervous about sharing my experiences. I hit some snags, but nothing too bad, and it was a huge quality-of-life upgrade from other laser cutters I was familiar with. I would say using this laser cutter is easier than most of the 3D printing I do.
I had the nagging worry that it was some kind of honeymoon period. I’d experienced this before with machines where the issues only crop up after trying to use it over a longer period.
Well, I have to say my worries were unfounded. We loved it so much that we got a second machine, and both have been going strong ever since. My wife enjoys using the machines so much she started selling on Etsy as her own small business.
Ever since we made our first cuts and shared in a couple of Instagrams, people have been asking what I think of the machine, and more pressing, should they order a Glowforge, buy a cheaper Chinese machine, or get a more expensive USA-based branded machine?
What I think could be improved on the Glowforge
Glowforge Snag List:
- It could be just my experience, but the setup instructions started with the wifi, rather than the unboxing and first steps. The problem is the warranty folks want you to keep all your packaging in case it ever needs to go back – I worry people will start tearing away and lose/damage packing bits.
Not a big deal in the scheme of things, but it IS aimed at people who ordinarily will not have used such a machine before. I mean, they even call it a Laser Printer instead of a Laser Engraver to make it more appealing to complete newbs. Something that irritates the nerds, including me somewhat.
T he exhaust hose is very short and flimsy. Originally we were working in the garage and needed a very long hose to go from the laser all the way out of the garage door. I ordered an inline fan and a more robust hose from Amazon anyway but something to keep in mind if you want to be up and running day 1.
- While there is a filter unit that you can use, it’s only really a long-term solution for people who cut clean materials or can budget in replacement filters – see my full review of the Glowforge Compact Filter.
- The webcam on board is wonderful, but due to being based around a fisheye lens it is not always millimeter accurate. Still, it is very cool to be able to see on screen where your artwork will drop. The autofocus option mentioned above makes a LOT of difference and in May 2019 a calibration tool was added, allowing for any offset to be potentially eliminated. This covers 99% of use cases but as a traditionalist, I would still like a red dot and perimeter trace option like on traditional-style lasers just to precisely dial in multiple-step jobs.
- Originally I said that it would be nice if they could add some basic tools in the software (things like crop, rotate, mirror, and repeat/array), which they did but most of the cool stuff went in the premium? Not entirely sure as we did buy premium and it has come in handy, that said most people do all the preparation work in their design package. Even better would be to allow us to use external software like LightBurn, but I doubt that will happen unless the company goes belly up.
- While there is a Pro model with pass-through, in fact, the basic does have a front flap. Would be nice to have a built-in “disable safety features at my own risk” option but see my tutorial on Glowforge Basic Pass-Through Hack. Hint, it involves magnets ;)
- Finally, in Canada we are pretty screwed over by the shipping cost of Proof Grade materials until they get a local distributor. This is p
ain ,
That was quite a list! Does that all mean I do not like the machine?
Quite the contrary!
Here are the Glowforge advantages:
- First of all, the machine itself looks great. Seriously, using the Glowforge reminds me of the Ultimaker in terms of style, finish, quality of parts, and assembly. I could almost believe it was designed and made by the same people.
- It looks good, but it also looks like it means business. Yes, it is plastic, but it doesn’t feel cheap. It’s sturdy and feels professional. My budget
K40 laser, also a 40 watt laser supposedly, felt like a budget laser, especially when you looked inside.
- Considering the Glowforge Basic is half the price of a lot of the competition, it is amazing. Yeah, it was crowd-funded, and yes it is still more expensive than my K40, even with upgrades, but it is incredible value for money and far easier to not just use but get beautiful results from.
- This isn’t a pro review but even the pro version of the lineup is well within the price range of a Full Spectrum, Trotech, or Epilog, but is easier to use and it is still American-made so you do actually get customer support.
- I’ve used these more-professional priced machines and I would not say they have an edge over this laser either in use or in output. Yeah, they are probably faster in operation (mainly engraves), but I have not found the machine to be less precise or less capable.
- While the Trotec is much, much more expensive, the software is abysmal. Trotec use this horrible printer driver and intermediate software that is super painful to use.
- That’s at the pricey end, what do I get for the extra money over my k40? First, I get customer support and service. My own K40 was bought privately from someone in a Facebook group, but there isn’t even a brand name to search
for to find support. They are generic, made to a price point, machines. If you buy through a reseller maybe you getsupport that way, I don’t know. With Glowforge there is a customer service team and a warranty.
- In terms of specs the laser is still ahead over my K40. The usable area is larger, and the machine accepts larger material, even without tricking the front flap sensors.
- Working with the K40 was improved after I upgraded the smoke assist, the ventilation, the main board, the optics, and the software, but even then the K40 was still not as crisp, precise, and repeatable as this. Focusing on the K40 is a pain whereas it happens automagically on the Glowforge.
- On both
machines I would prepare my files using Inkscape or Adobe Illustrator anyway, but the Glowforge has capabilities in the cloud software already that is not possible on the K40 without an additional toolchain, such as “scan and print”.
- The ecosystem is very convenient also. Having the QR-coded proof-grade materials is such a comfort. Again, it is like with Ultimaker and their RFID filament spool system. It takes the doubt and guesswork out of settings, while not locking you into a closed, DRM-style system either. I am looking at you 3D Systems.
- Add to that the fact the company is still developing everything (even just in the short time I have owned my Glowforge Basic), and I can only see the experience getting better and better. It feels almost like Tesla with their over-the-air updates which make the machine more capable as if by magic. Of course, like Tesla, a couple of bad business decisions or an unforeseen event could brick the machine. Fortunately, the company has released firmware source code and made promises that customers will never be left high and dry. Let’s hope we never have to go there.
- The company is only one side of the equation. Glowforge has also attracted a vibrant, supportive community. That also speaks volumes.
The Glowforge Community
There is a growing Facebook community, official forums, and more YouTube videos being added all the time. Even Instagram has more and more shared images appearing.
One of the reasons I would guess is that Glowforge is a known brand and a known quantity. While I talk about owning a K40 laser, mine is almost certainly different to yours. I can’t for sure give you advice about your Chinese laser without offering caveats and hedging.
Price would be the other reason. You can get up and running with your new laser engraver for less than a Muse, Trotec, Epilog, or even a Dremel, and none of those have the warm and fuzzy approachability that Glowforge has.
It is funny how the big-name players speak to ease of use, but the Trotec at our community-managed maker space is always down for maintenance. It’s very, very easy to bork the toolchain or settings.
Glowforge Technical Specs and Price Range
I bought the Glowforge Basic, which is $2,500 USD or $116/mo. There is also the Pro priced at $5,995 which has a pass-through slot. The middle guy is the Plus, which is priced $3,995.
Personally, I went for the lowest price, but I was tempted by the pass-through and would sleep better with the additional warranty of the Plus over the Basic.
Get up to $500 off the price of your new laser by using my referral link.
The usable work area of the Glowforge is:
- Maximum material depth: 18″ (455 mm) for Basic and Plus;
- Unlimited length for Pro with pass-through
- Maximum material width: 20″ (515 mm)
- Cutting area: approx. 11″ (279 mm) deep and 19.5″ (495 mm) wide
- Maximum material height: 2″ (50mm)
- Maximum material height with tray: 0.5″ (13mm)
This is larger than my K40 and 80% of the time all we ever needed in order to get my wife’s business up and running. Since owning these machines we have only needed the much larger lasers at the two maker spaces I am a member of a couple of times for extremely large production runs.
Remember also, even my Basic came with a crumb tray and a front flap.
The laser tube is a CO2 glass laser tube capable of continuous operation at 10,600 nm; rated at 40 watts. My K40 is sold as a 45w but most users agree that is only a theoretical value, with actual reality being more in the 35w range as new.
Having autofocus and no fiddly mirror alignment challenge, plus not having to shim material to focus height, or upgrade to a moving Z bed, you also get more of that laser juice hitting your material than the fuzzy almost focused beam I would manage with my K40.
Focusing or being out of focus is probably the most frustrating part of owning a cheap laser, so this is a joy.
It just works. Heck, even the expensive competitor lasers need manual focusing!
One of the things that
I’m pretty sure to all but the most critical eye, the output is at least on a par with the Trotec laser, but, what, 1/5 the price?
While I would like to have the option to upgrade the air assist, when clean it is very effective even versus the air compressor solution I installed on my K40.
There is also of course a built-in extraction fan, located at the far left of the machine. That does a good job removing smoke and particles but as mentioned earlier, I added a powerful inline fan to ensure better smoke clearance.
Glowforge Review Conclusion
When I first posted my review it was very new to us. Now, many years later, it has been one of the best investments we ever made. My wife had zero interest in laser engraving on the Full Spectrum Muse 2D, Beamo, or K40, but she built a business around laser cutting and engraving that is still going strong.
The Glowforge is my wife’s favorite laser engraver. Period.
Get up to $500 off the price of your new laser by using my referral link.
If you are considering buying a laser engraver, the Glowforge is well worth at least having on your shortlist.